|
MS Front Page Express - Insert Table |
||||||||||||||||||||
| .......... | This is not a course. It is a... Tip Sheet |
||||||||||||||||||||
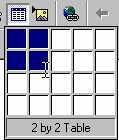
 Click on the Insert Table icon as shown in the toolbar above.
If you want more rows and columns than are offered in this way, then insert a table by using the Table menu, and typing in the number of rows and columns.
|
|||||||||||||||||||||
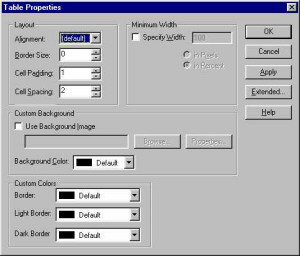
| Table Lines You can choose to have a table with lines showing or not. The width of the line is also your choice. Tables without lines are often used to simulate columns on a web page (as shown in the next line of this text).
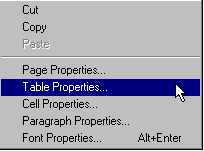
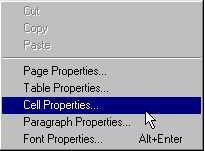
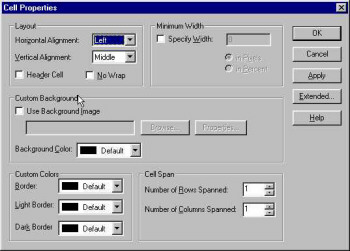
Background / Cell colours To colour the background of cells in a table you would follow this process. If you want the whole table to have a background colour, you would follow this from the Table Properties Menu. To change the colour of one or more cells in the table, first click on the cell (or highlight the cells) that you want to change.
|